
If you’re a homeowner in Nairobi considering solar power, understanding the installation process is crucial before you make the investment. Solar systems are becoming increasingly popular across Kenya, and for good reason — they reduce electricity costs, increase property value, and provide energy independence. This guide walks you through every step of the solar installation journey, from initial assessment to flipping the switch.
Step 1: Assess Your Energy Needs
Before any installer sets foot on your roof, you need to understand how much electricity your household consumes. In Nairobi, average residential consumption ranges from 100 to 300 kWh per month, depending on appliances, family size, and usage patterns.
Start by reviewing your KPLC (Kenya Power and Lighting Company) electricity bills from the past three to six months. Look for your monthly consumption in kilowatt-hours (kWh). A typical Nairobi household might consume around 150 kWh monthly, though this varies significantly based on whether you have air conditioning, electric water heaters, or other high-consumption appliances.
Once you know your consumption, discuss it with your solar installer. They’ll help you decide whether to install a grid-tied system (connected to KPLC), an off-grid system (completely independent), or a hybrid system (using both solar and grid/battery backup). For most Nairobi residents, a grid-tied system is most practical, as it allows you to draw power from KPLC when solar isn’t available and send excess power back to the grid.
Step 2: Site Assessment and System Design
A qualified installer will conduct an on-site assessment. This involves examining your roof’s orientation, angle, and shading patterns throughout the day. Nairobi’s latitude (just south of the equator) means your roof should ideally face north to maximize year-round solar exposure.
The installer will also check your roof structure to ensure it can safely support solar panels. Older Nairobi homes with weak roofing materials may need reinforcement, which adds to installation costs. They’ll measure your roof space and determine how many panels can fit. A typical residential system in Nairobi ranges from 3 kW to 10 kW.
During this phase, the installer provides a detailed design showing panel placement, inverter location, and wiring layout. They’ll also give you a quotation breaking down equipment costs, labor, and any permits required.
Step 3: Obtain Necessary Permits and Approvals
While Kenya doesn’t require a national permit for residential solar installations, Nairobi’s City County sometimes requires approval, particularly if your installation is visible from the street or affects building aesthetics. Check with your local Nairobi subcounty office before proceeding.
You’ll also need written consent from KPLC if you’re installing a grid-tied system. The utility must approve your interconnection agreement to ensure your system meets their safety standards. This process typically takes two to three weeks and is usually handled by your installer.
For apartment dwellers in Nairobi’s estates, check your building’s bylaws or seek permission from your landlord and neighbors, as shared roofing can complicate installations.
Step 4: Order Equipment and Schedule Installation
Once approvals are secured, your installer orders panels, an inverter, mounting hardware, and balance-of-system components. Quality matters here — reputable brands like Canadian Solar, JinkoSolar, and Fronius are commonly available in Nairobi.
The installation itself typically takes three to five days for a residential system. Weather can delay progress — Nairobi’s rainy season (April-May and October-November) may postpone work. Plan for this timeline when scheduling.
Step 5: The Installation Day: What to Expect
Day 1-2: Structural Preparation
Your installer begins by setting up the mounting structure on your roof. They’ll attach aluminum rails to your roof framing using flashing and waterproof seals to prevent leaks — a critical concern in Nairobi’s rainy climate. This stage is noisy and involves drilling, so inform neighbors and secure loose outdoor items.
Day 2-3: Panel Installation
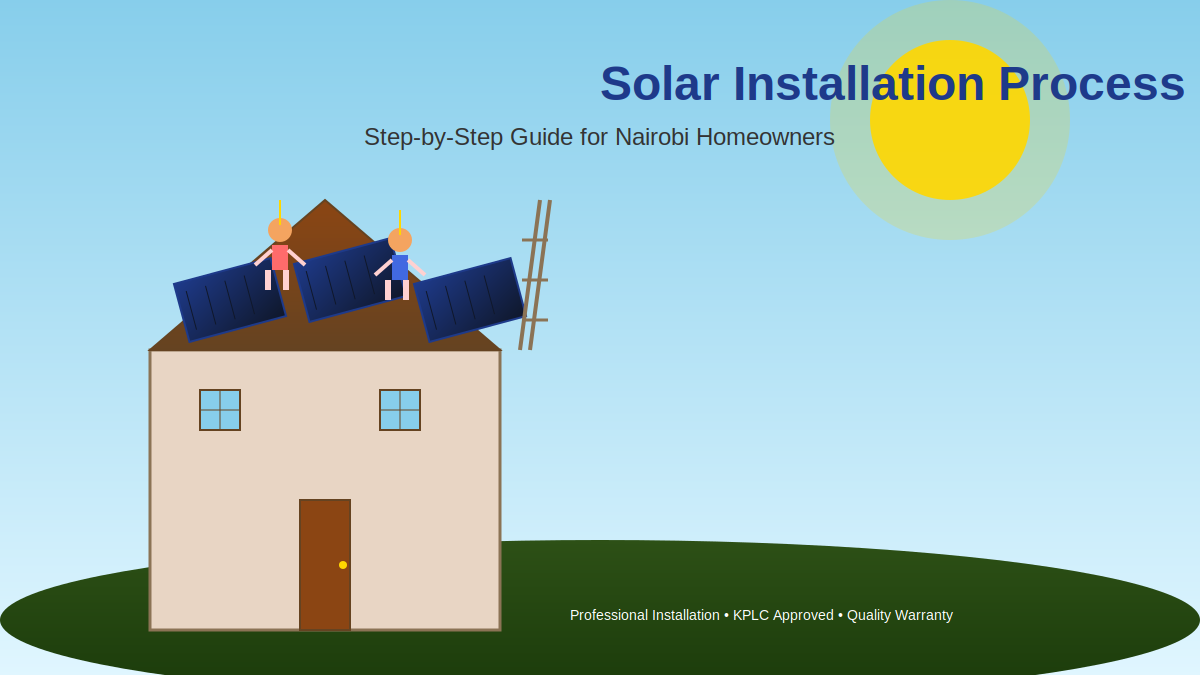
Once the mounting rails are secure, installers affix solar panels using specialized clamps. They’ll work methodically, connecting panels in strings (usually 6-10 panels per string) with electrical wiring. Safety is paramount — installers wear harnesses and work during daylight to reduce risk.
For a typical Nairobi home installation of 24 panels, this process takes one to two days.
Day 3-4: Electrical Work
This is where the inverter, disconnect switches, and wiring get installed. The inverter — typically wall-mounted near your main electrical panel — converts DC power from panels into AC power your home uses. Your installer will:
- Run conduit and wiring from the roof to the inverter
- Install DC and AC disconnect switches (required for safety)
- Connect the inverter to your main electrical panel
- Install a bidirectional meter (for grid-tied systems) to track power flow
This stage requires precision and follows the Kenyan Standard (KS) electrical code. Most professional installers in Nairobi adhere to these standards, but verify before hiring.
Day 4-5: Testing and Inspection
Before your system goes live, the installer performs rigorous testing:
- Checks all electrical connections for safety
- Tests voltage and current output
- Verifies the inverter’s performance
- Confirms the grid connection works properly (for grid-tied systems)
If everything passes, the installer activates your system, and you’re generating solar power.
Step 6: Final Inspections and Grid Connection
For grid-tied systems, KPLC must conduct a final inspection before interconnection. They’ll verify that your system has proper safety switches and meets their standards. This inspection is free and typically happens within two weeks.
Once approved, KPLC installs a bidirectional meter that tracks both power drawn from the grid and excess power fed back to it. You’ll only pay KPLC for net consumption — if you generate more than you use, you may receive credits (depending on your contract).
Step 7: Activation and Monitoring
After all approvals are complete, your system is activated. Many modern inverters come with mobile apps that let you monitor real-time production from your smartphone. For Nairobi residents, this visibility is rewarding — you’ll watch your system generate power and offset KPLC costs.
Post-Installation: Maintenance and Warranty
Solar panels require minimal maintenance. In Nairobi, dust and occasional bird droppings can reduce efficiency, so clean panels twice yearly with water and a soft cloth. Avoid harsh chemicals.
Quality equipment comes with warranties:
- Panels: typically 25 years (covering 80%+ output after 25 years)
- Inverters: 5-10 years
- Workmanship: 2-5 years
A reputable Nairobi installer should provide full documentation and warranty support.
Cost Expectations for Nairobi Buyers
A 5 kW grid-tied system in Nairobi typically costs between KES 600,000 and KES 900,000, depending on equipment quality and complexity. A 10 kW system runs KES 1.2 million to KES 1.8 million. While this seems substantial, most Nairobi homeowners recover their investment within 5-7 years through reduced KPLC bills.
Several financing options exist — solar companies offer payment plans, banks provide green loans, and the Kenya Climate Change Directorate sometimes offers subsidies for residential solar.
Common Mistakes to Avoid
Hiring unqualified installers: A botched installation can damage your roof or create electrical hazards. Always verify credentials and ask for references.
Undersizing your system: Many Nairobi homeowners regret installing systems too small for their actual needs. Err on the side of slightly larger capacity.
Ignoring maintenance: Even “maintenance-free” panels need occasional cleaning in Nairobi’s dusty environment.
Not getting permits: Unpermitted systems can complicate home sales and void insurance.
Conclusion
Installing solar in Nairobi is straightforward when you work with qualified professionals and understand each step. The process, from energy assessment to final activation, typically takes 4-8 weeks. While upfront costs are significant, the long-term savings on electricity and environmental benefits make solar a smart investment for Nairobi homeowners. Take time to find a reputable installer, review your energy needs carefully, and ask questions throughout. Your solar system will provide clean, affordable power for decades to come.